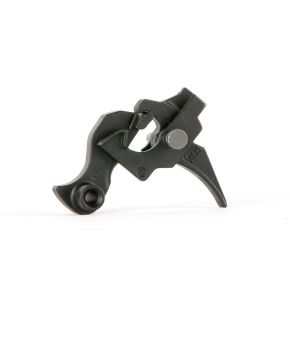
Triggers
Subscribe to RSS Feed-
-
-
-

-
-
-
-
-
-
-
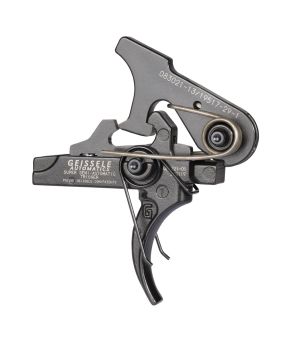
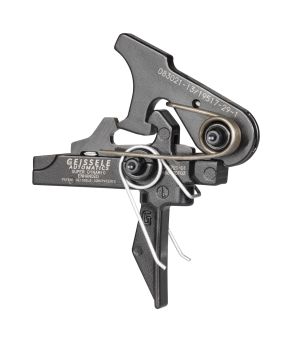
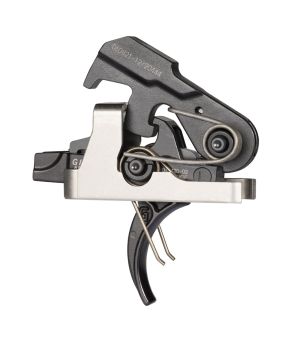
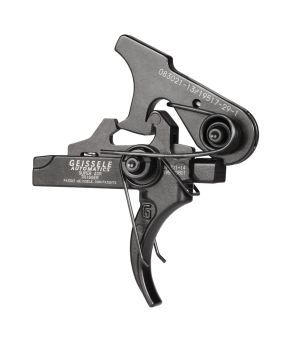
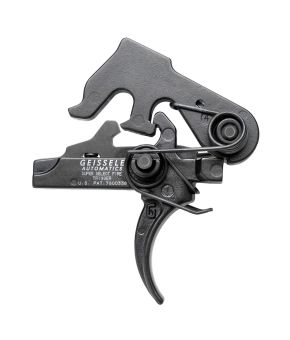 Super Select-Fire SOPMOD (SSF®) Trigger$405.00Phone Orders Only - Please Call 610-272-2060 To Place An Order
 -
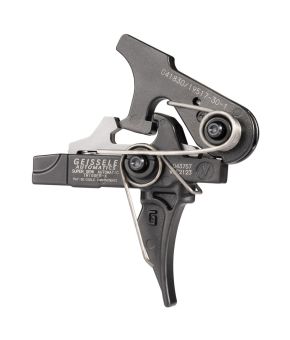
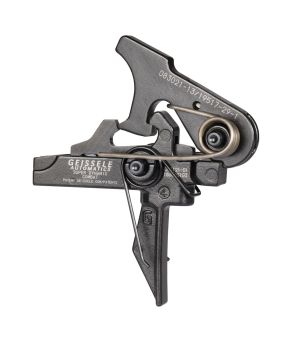
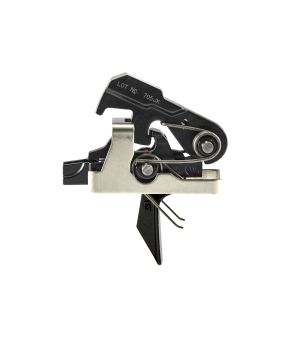
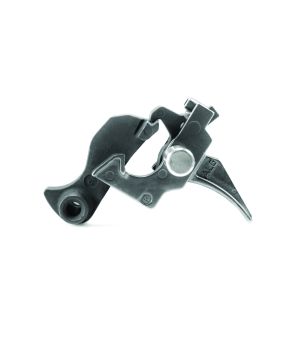
 Super Select-Fire SOPMOD (SSF®) HK416 Trigger$525.00Phone Orders Only - Please Call 610-272-2060 To Place An Order
 -
-
-
-
-
-
-
-
-
-
-
-
-
-
-

-

-

-

-
-
-
-
-

AR-15 Triggers
Looking to upgrade from your standard AR-15 Mil-Spec trigger? Here’s all you need to know about aftermarket triggers, assembly, and more to find the best fit for your AR build or upgrade.
Types of AR-15 Triggers
When it comes to the AR-15, a Mil-Spec trigger is the standard. However, there are several different types of triggers to choose from.
-
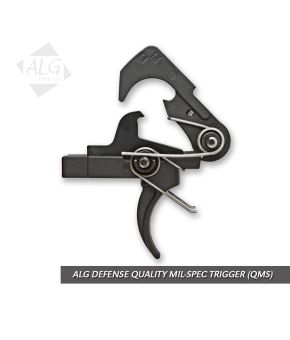
Mil-Spec Trigger
A Mil-Spec trigger for an AR-15 is a standard issue trigger that’s designed to comply with U.S. military specifications.
The trigger pull weight typically falls between 5.5 and 8lbs; however, many manufacturers offer lighter pull weights than this standard.
With a Mil-Spec trigger, the disconnector is removable, and the trigger and hammer are separate pieces.
-
Drop-In Trigger
An AR-15 drop-in trigger is a single piece that includes all parts of the trigger, including the hammer and sear, and can be quickly installed into the rifle without specialized tools.
As its "dropped in," the trigger does not require machining or any further assembly once it has been inserted in the lower receiver. Thanks to the ease of installation, this type of trigger is often considered a great option for those who are new to firearm customization and/or assembly.
-
Match-Grade Trigger
A match-grade trigger on an AR-15 offers a much higher degree of accuracy and precision than a standard Mil-Spec trigger. This enhanced performance is achieved by providing a much lighter pull weight as well as a crisp, clean break that allows for quick follow-up shots.
Additionally, these triggers have adjustable components such as over-travel and sear engagement, so users can customize the trigger to match their particular shooting style. For example, our Hi-Speed National Match trigger offers three different types of trigger springs; this will allow for the preferred pull weight depending on the users preference.
-
Single-Stage AR Trigger
A single-stage trigger is a type of trigger mechanism that only features one level of resistance to release the hammer. This type of trigger mechanism does not have any “slack” or take-up before pressure is needed to release the hammer, unlike a two-stage trigger, which involves taking up the slack in the sear surface (minimal pressure needed to work it rearward), before reaching a distinct wall (a point of actual resistance). Essentially, with a single-stage trigger, the shooter starts at the wall, and as they work through that initial resistance, the hammer is released.
Thanks to its convenience and simplicity, the single-stage trigger is one of the most popular upgrades made to AR-15 rifles. When choosing a single-stage trigger, keep in mind that different models vary in terms of pull weight, reset distance, amount of pre-travel, and other performance characteristics.
-
Two-Stage AR Triggers
A two-stage trigger is a trigger system where two distinct levels of resistance are required in order to release the hammer. In a two-stage trigger, the user must first work through an amount of slack, where minimal resistance is encountered, until the "take-up" phase is complete (also known as pre-travel), at which point the shooter encounters a “wall,” a distinct point of resistance. Once at the second-stage wall, more intentional pressure is required to work through this and release the hammer.
This feature can aide in accuracy by allowing better control over the shot, as the shooter is able to take up a certain amount of pressure in the trigger press by working through the slack so that only a smaller additional amount of pressure is needed to work through the second-stage wall and break the shot.
Parts of an AR-15 Trigger
If you’re new to the world of firearms and triggers, here’s a breakdown of the key parts of a trigger:
- Trigger: The lever that you squeeze to activate the gun’s firing mechanism and fire a round.
- Hammer: The piece that experiences spring tension and remains in place until the trigger moves enough to release the hammer. Once the hammer is released, the tension pushes the hammer into the bolt’s firing pin.
- Sear: The part that connects the trigger and the hammer and prevents the firearm from firing by allowing the cocked hammer to rest when not in use or releasing the hammer to fire when enough pressure is applied to the trigger.
- Disconnector: This part catches and engages the hammer when it is moved rearward by the bolt carrier after the firearm is fired, preventing the hammer from falling forward again. As the trigger is let out and returns forward, the hammer will disengage the Disconnector and engage the trigger sear surface to reset the trigger group to be ready to fire again.
- Hook: This is part of the hammer that is caught by the disconnector. After the trigger resets, the disconnector releases the hook, and the sear is re-engaged by the trigger.
AR-15 Trigger Terminology
If you’re still getting familiar with your AR-15, here’s some terminology surrounding triggers that might help:
- Wall: This term refers to the movement of the trigger as you begin to pull, which moves the sear and then releases the hammer. When you’re able to feel resistance, that’s when you’ve hit the wall.
- Trigger break: This term refers to the point past the wall, when the sear releases the hammer completely, causing the hammer to slam into the firing pin.
- Take-up: This term refers to trigger slack, which means that the hammer is not released by the sear immediately when you pull the trigger. The take-up (or trigger slack) ends when the trigger and wall meet.
- Creep: This term refers to the trigger movement within the period of time between the sear moving out of place and the hammer being fully released. Closely related to take-up, consistent creep is generally OK providing that inconsistencies aren’t at play – the tension that increases at different points, for example.
- Stacking: This term refers to inconsistencies in the trigger creep that create the need for more pressure on the trigger, leading to a trigger pull that’s jerky.
- Pre-travel: A combination of the distance of the wall, take-up, and creep.
- Over-travel: The distance that the trigger keeps moving after it breaks.
AR-15 Trigger Assembly
Before installing your AR-15 trigger, make sure you have the hammer, trigger, and disconnector, along with the spring and pin for each.
To install the trigger:
- Take the lower and place it into the lower receiver vise block.
- Attach each component to its spring, installing the disconnector spring with the flared side down.
- Take the trigger and drop it into the trigger cutout in the lower receiver vise block, ensuring that the springs do not get caught in the cutout.
- Take the 1/8-inch punch and insert it through the trigger pinhole, while also passing it through the disconnector.
- Use a non-rotating pin set tool to insert the internally threaded trigger pin into the trigger. This will push the 1/8-inch punch and slide the trigger into its proper place.
- Bend the hammer into its proper place by setting the hammer springs across the top of the trigger pin, then use a 1/8-inch punch of #4 roll pin punch to secure it. As you’re pushing the hammer pin in, push out the punch as well.
- Place the pin connector covers on top of the hammer pin’s flared ends, making sure the threaded holes are aligned over the pin.
- Tighten the screws — first with your fingers, then with a wrench, careful not to overtighten and strip the screws.
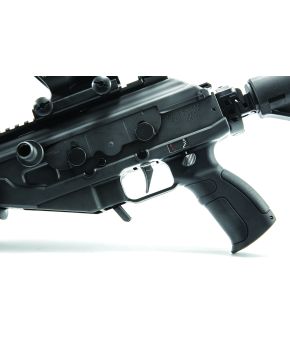
What Is an Aftermarket Trigger?
An aftermarket trigger is an upgrade to a firearm that replaces a stock Mil-Spec trigger and provides improved ergonomics and/or trigger control.
Aftermarket triggers are often made with upgraded materials and can help increase feel, accuracy, and performance, whether for precision applications or rapid fire. Typically easy to install, aftermarket triggers allow gun enthusiasts to customize their firearms.
How to Choose an Aftermarket Trigger for Your AR-15
The first step in choosing an aftermarket trigger for your AR-15 is to define what you’re looking for. Is there something specific you don’t like about your Mil-Spec trigger? For example, does it lag when firing follow-up shots? Is it traveling too far or does it feel somewhat gritty?
Whether you’re looking for lighter pull weight, faster reset, or adjustable pre-travel and over-travel, there’s an aftermarket trigger out there that suits your needs.
Other factors to consider include construction material and compatibility with your rifle. Quality triggers are made from steel or aluminum alloy, so be sure to avoid cheaper polymer triggers. Additionally, make sure your new trigger is compatible with the lower receiver of your current AR-15 setup and that it has the correct pin size requirements (Mil-Spec or large pin).
To compare triggers side-by-side, check out our pick my trigger comparison chart.
Explore the additional Triggers categories and products:
Frequently Asked Questions
Keep the sear surface well lubricated for the first 200-300 rounds. It is recommended to always keep a small amount of fresh ALG Go-Juice lubricant or 0000 Very Fine Grease on the sear surfaces. Every 500 rounds place a drop of ALG Go-Juice lubricant or 0000 Very Fine Grease on the sear surfaces, sides of the disconnector where the pin slides through and on the very ends of the hammer pin next to the receiver walls.
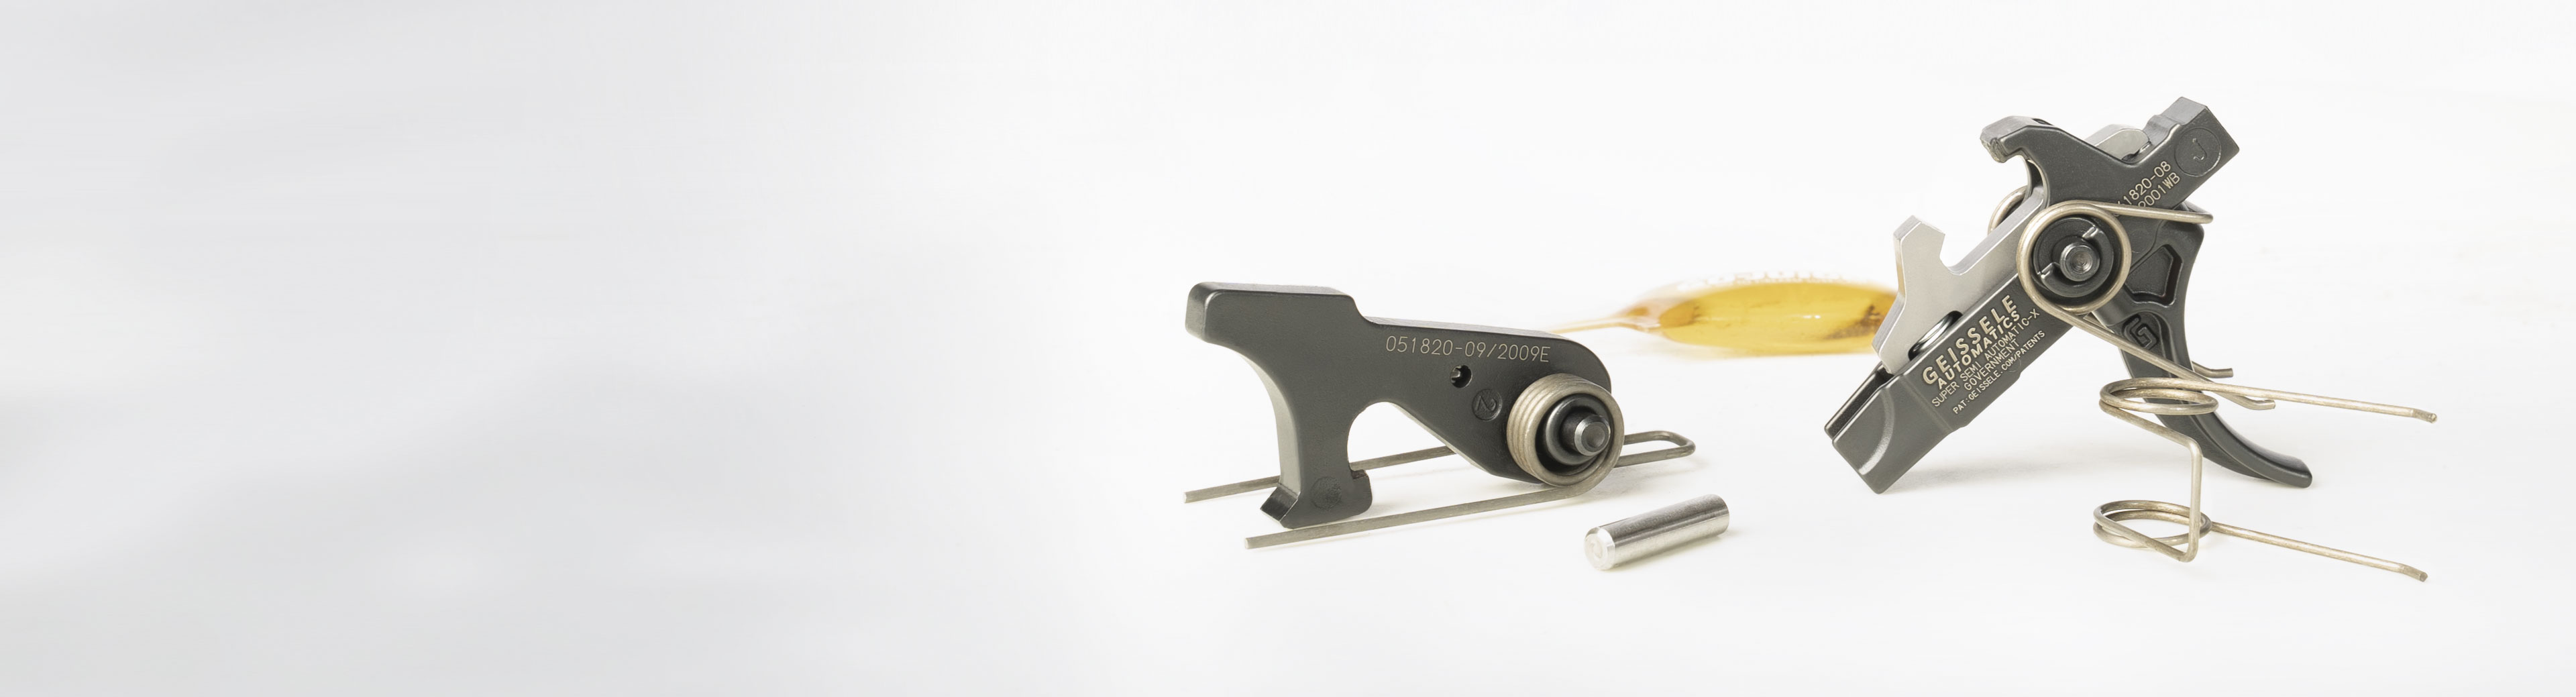
Designed to provide a smoother, crisper pull, Geissele triggers allow you to customize your AR-15 and are a massive upgrade from standard heavy sluggish Mil-Spec triggers. Common benefits of a high quality aftermarket Geissele trigger include increased accuracy and reliability.
Our AR15 triggers will work in the majority of AR10/SR25/DPMS LR-308 pattern rifles. As there is no Mil-Spec for .308 variants like there is for the AR15, some research may need to be done on your intended platform to confirm fitment and function prior to purchase.
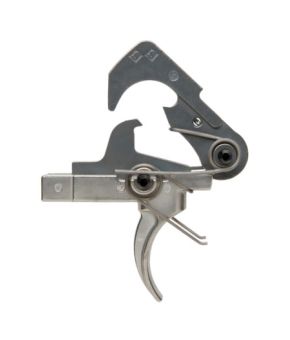
The Hi-Speed National Match Trigger is THE trigger you’ll want. These adjustable triggers were specially-designed for long distance marksmanship competition, where both accuracy and robustness are critical. They can be tuned to your preferences, including first and second stage pull weight, over-travel, and sear engagement. Using the provided spring set options, you can adjust your pull weight from a range of as low as 1.5 lbs. and past 4.5 lbs.
